Author Archives: GCSDev

Insect-Repellent Container Gardens

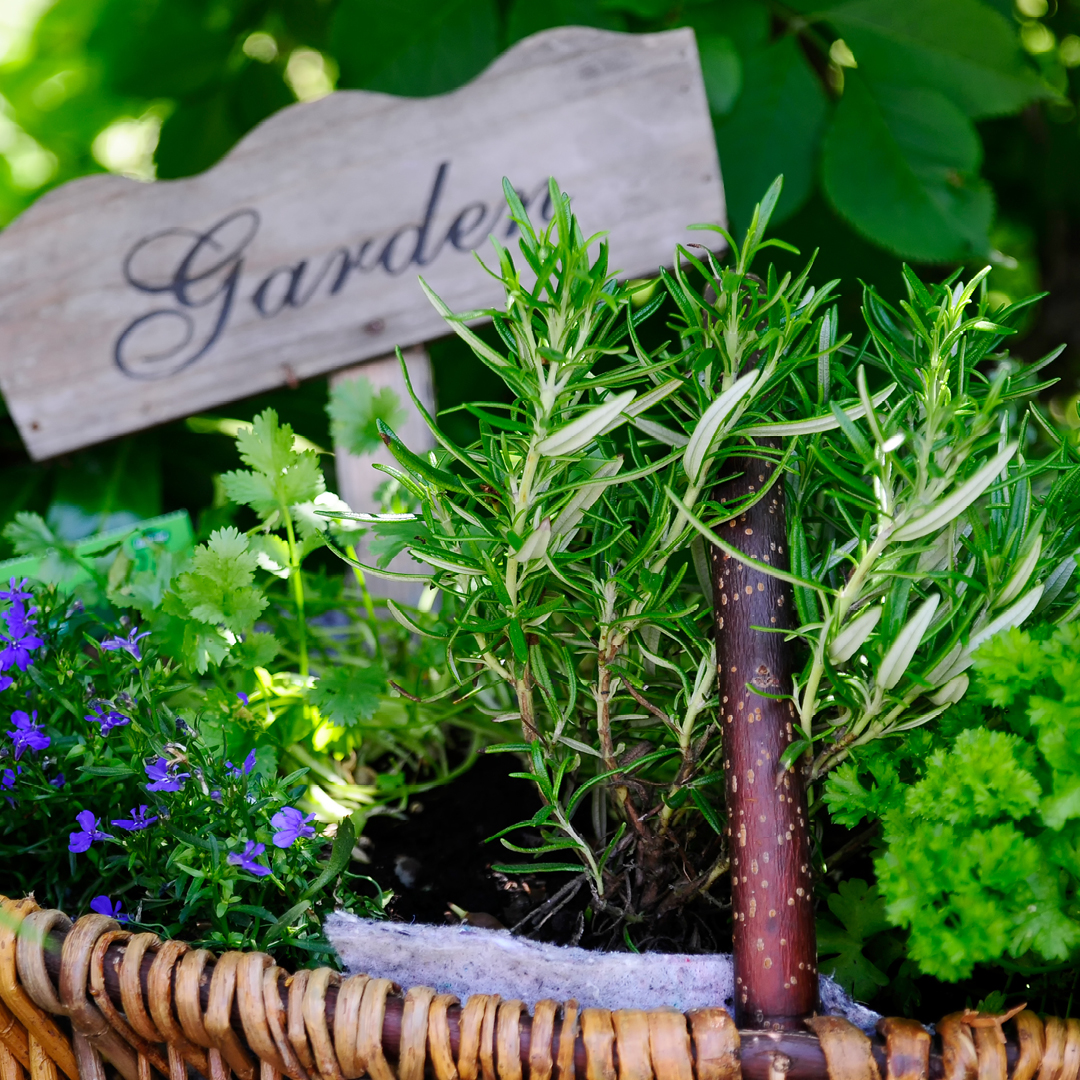
Summer is all about outdoor gatherings, but irritating insects can dampen the fun. Creating an insect-repellent container garden is a simple, effective, and attractive way to keep bugs at bay while keeping you and your guests comfortable.

Abundant Annoyers

Any celebratory summer soiree can become a proverbial nightmare, sending attendees scattering when unwanted guests appear. The most abundant agitating and annoying insects of outdoor get-togethers are:

  • Ants
  • Flies
  • Gnats
  • Mosquitoes
  • Ticks
  • Wasps

The good news is that numerous attractive plants can be combined in planters around entertainment areas to repel these party wreckers.

Repellent Plants

The insect-repellent plants included in this list may be grown as summer annuals, in containers, in just about any area of the United States:

  • Basil (Ocimum basilicum)
    Repels mosquitoes, flies, and wasps
  • Catnip (Nepeta cataria)
    Repels mosquitoes, flies, and gnats
  • Citronella (Cymbopogon nardus)
    Repels mosquitoes, flies, and wasps
  • Eucalyptus (Eucalyptus spp.)
    Repels wasps
  • Lavender (Lavandula angustifolia)
    Repels mosquitoes, flies, and gnats
  • Lemon Balm (Melissa officinalis)
    Repels mosquitoes, flies, and gnats
  • Lemongrass (Cymbopogon citratus)
    Repels mosquitoes, flies, ticks, and wasps
  • Marigold (Tagetes spp.)
    Repels mosquitoes, flies, and gnats
  • Mint (Mentha spp.)
    Repels mosquitoes, ants, and flies
  • Pennyroyal (Mentha pulegium)
    Repels wasps
  • Petunias (Petunia spp.)
    Repels gnats
  • Rosemary (Salvia rosmarinus)
    Repels mosquitoes, flies, and ticks
  • Spearmint (Mentha spicata)
    Repels wasps
  • Wormwood (Artemisia absinthium)
    Repels wasps and flies

Container Placement

Placement is an important consideration—position pots of plants where they will be most effective in keeping bugs at bay. Combining different insect-repellent plants in the same container is a good idea for a more effective and visually appealing arrangement. Areas to consider:

  • Patio and Deck Borders: Place containers along the edges of your patio or deck to create a natural barrier against insects. This will help keep the bugs at bay while you and your guests enjoy the open space.
  • Dining Areas: Position containers around your outdoor dining area. Lavender, basil, and mint are excellent choices as they not only repel insects but also add a delightful fragrance to your dining experience.
  • Entryways: Place pots of insect-repellent plants near entryways to your home and outdoor entertaining spaces. This helps prevent insects from following you and your guests inside.
  • Seating Areas: Arrange containers around seating areas where guests are likely to gather. Plants like citronella, lemon balm, and rosemary are perfect for these spots, as their scents are particularly effective at keeping bugs away.
  • Table Centerpieces: Use small pots of insect-repellent plants as table centerpieces. Not only do they look charming, but they also create a bug-free zone right where your guests are eating and drinking.
  • Hanging Baskets: Utilize hanging baskets filled with trailing insect-repellent plants like mint and petunias. These can be hung above seating areas to provide additional protection from flying insects.

Give these insect-repellent plants a try this summer. Strategically place planters to create beautiful, functional container gardens that will enhance your summer entertaining experience. Enjoy your gatherings without the nuisance of bugs, and delight in the added beauty and fragrance these plants offer.
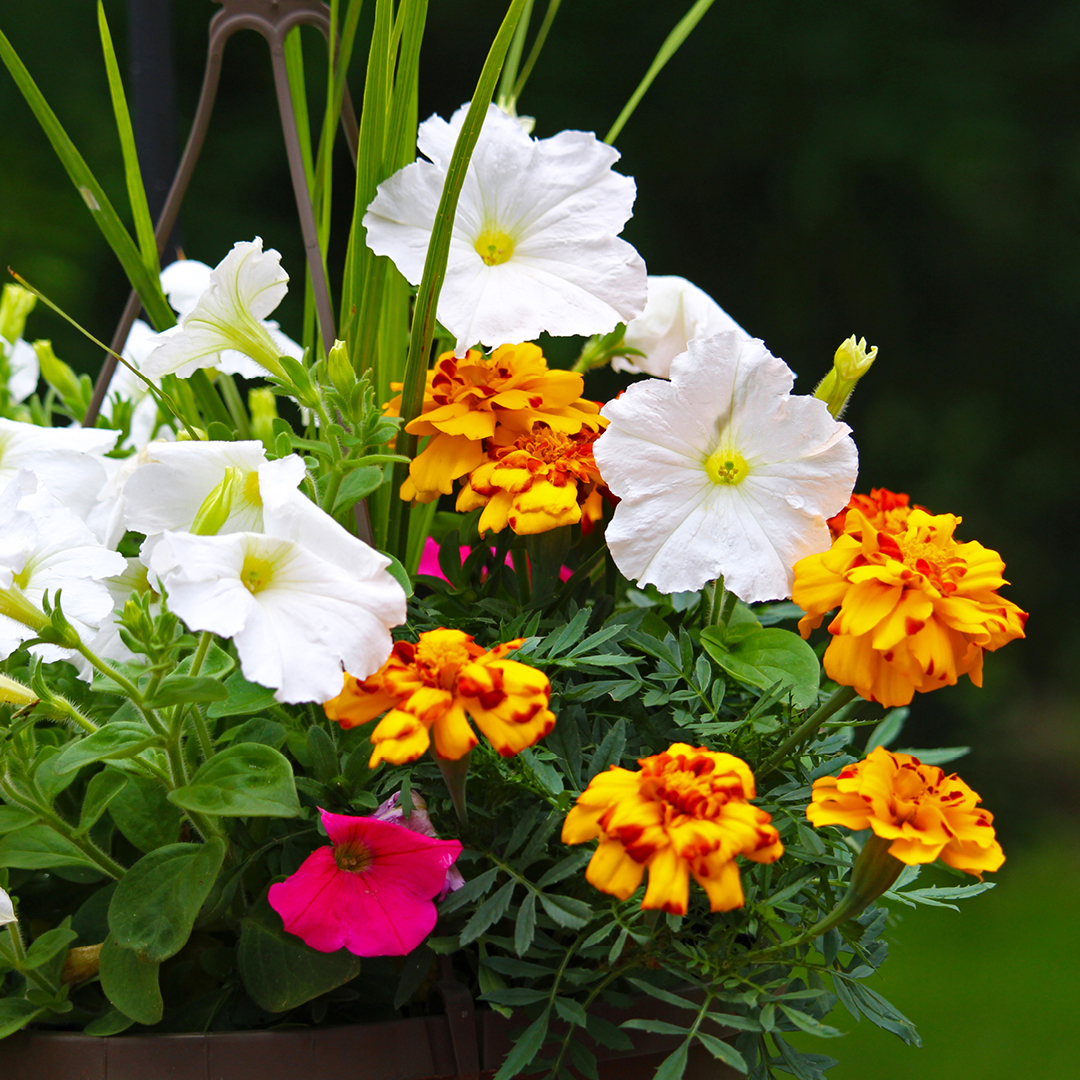
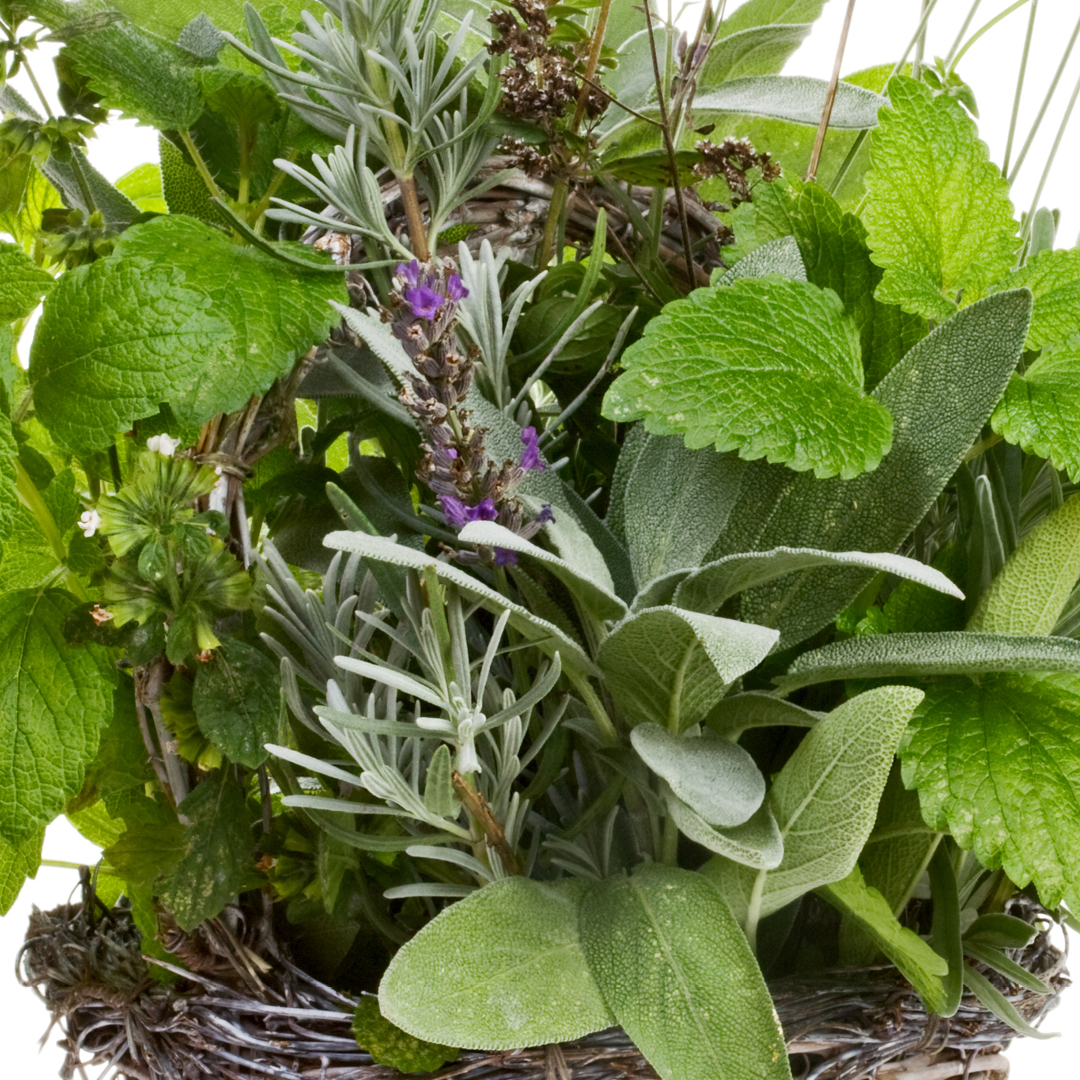
Insect Repellent Container Garden

Veggie Garden Tips for a Care-Free Vacation

Summer is the perfect time for vacations, but for gardeners, it can be a stressful period. Leaving your precious veggie garden unattended can lead to wilting plants, pest invasions, and missed harvests. Fear not! With some preparation, you can enjoy your vacation while ensuring your vegetable garden thrives in your absence. Here’s how:

Watering Solutions

Self-Watering Systems: Invest in a self-watering system, such as drip irrigation or soaker hoses connected to a timer. These systems deliver water directly to the roots, reducing evaporation and ensuring consistent moisture.

Mulching: Apply a thick layer of mulch around your plants before you travel. Mulch helps retain soil moisture, keeps roots cool, and reduces the need for frequent watering. Straw, wood chips, and compost are excellent mulch options.

Watering Globes and Spikes: These devices slowly release water into the soil over time. Fill them before you leave, and they’ll provide a steady water supply for your plants.

Pest Control

Preventive Measures: Before leaving, inspect your garden for any signs of pests and treat accordingly. Use organic pest control methods like neem oil, insecticidal soap, or diatomaceous earth to keep pests at bay.

Beneficial Insects: Introduce helpful insects like ladybugs, lacewings, and parasitic wasps to your garden. These natural predators help control pest populations.

Weed Management

Mulching: Besides conserving moisture, mulch also suppresses weed growth. A thick layer of mulch can prevent weeds from sprouting and competing with your vegetables for nutrients.

Weed Barrier Fabric: Lay down weed barrier fabric in between rows of plants. This fabric allows water to pass through while blocking sunlight, preventing weed growth.

Harvest Timing

Staggered Planting: Plan your planting schedule so that crops mature before or after your vacation. This way, you can avoid missing critical harvest windows.

Prune and Thin: Remove any overgrown or excess foliage to improve air circulation and reduce the likelihood of disease. Thinning crowded plants ensures they have enough space to grow and reduces competition for resources.

Neighborly Help

Garden Sitters: Enlist the help of a trusted friend or neighbor to check on your garden while you’re away. Provide clear instructions on watering, harvesting, and any specific care your garden needs.

Garden Exchange: Offer to take care of their garden when they go on vacation in exchange for their help with yours. This mutual arrangement ensures both gardens receive the attention they need.

Tech Solutions

Smart Garden Devices: Invest in smart garden devices like soil moisture sensors, smart sprinklers, and remote cameras. These gadgets allow you to monitor and control your garden from your smartphone, providing peace of mind while you’re away.

Preparation Checklist

  • Arrange a garden sitter well in advance.
  • Ensure automated watering systems and technical gadgets are all working.
  • Prune or support tall plants to prevent wind damage.
  • Secure all garden structures to withstand storms or heavy winds.
  • Fertilize to guarantee that your plants have vital nutrients while away.
  • Mulch to retain soil moisture and keep weeds at bay.
  • Harvest ripe vegetables to prevent them from rotting on the vine.
  • Provide your garden sitter with clear instructions.
  • Water right before you leave.
  • Check weather forecasts and plan accordingly.

These steps allow you to vacation-proof your vegetable garden and enjoy your time away without worrying about your plants. With a little planning and some help from technology and friends, your garden will be in great shape when you return.

Veggie Garden Tips
Veggie Garden Tips
Veggie Garden Tips

Cool Off with Caladium

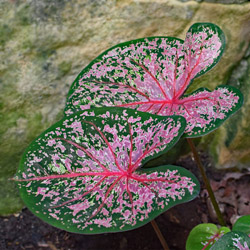
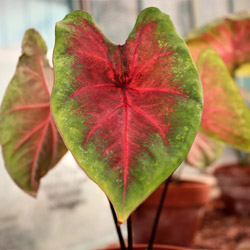
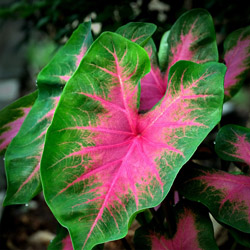
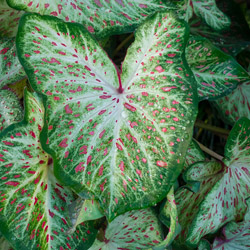
Caladiums are phenomenal ornamental foliage plants, native to South America and now widely enjoyed in gardens all over the world. Gorgeous in cool, shady spaces, caladiums can make a beautiful impact in darker areas of the garden where it is a challenge to introduce color.

Discovering Caladiums

Also called angel wings or elephant ears, these plants are bold ornamentals with huge, dramatic leaves that are either lance-like, arrow, or heart-shaped. While some caladiums can grow as much as 24 inches high and wide, smaller dwarf cultivars are also available to plant in tiny gardens and containers. All caladiums possess stunningly beautiful, boldly patterned leaves in a mix of colors and hues, including green, white, pink, red, and cream. They often display flamboyant veining, spots, or flecks on the leaves making them even more breathtaking.

Caring for Caladiums

These plants grow from tubers and are easy for gardeners of all experience levels to cultivate. Caladiums are ideal in shady borders or around the trunks of trees, they can be perfect groundcovers in darker garden spots, they are an awesome filler for difficult spaces, and are even stunning in containers and pots. To prevent damage to their foliage, it is best to position caladium in a sheltered area out of strong winds. Caladium tubers can be purchased bare or already potted. Here are some tips to grow the most healthy and luscious caladiums:

  • Choose large, firm tubers for the most vigorous plants with spectacular foliage. Smaller tubers will still grow, but the plant they produce will also be proportionally smaller.
  • Plant caladium tubers in late spring when the soil temperature reaches 65 degrees. A soil thermometer can help ensure that the time is right for planting. You may also get a jumpstart on the season by planting caladium indoors, in pots, about 5 weeks before the anticipated last frost for your area. Simply transplant outdoors when soil temperatures are correct.
  • Position caladiums in moist, well-drained garden soil that is rich in organic matter to nourish strong, healthy, vibrant plants.
  • Plant the tubers in partial to full shade. These plants generally prefer cooler spots but can tolerate a little more sunlight in naturally cooler regions.
  • Plant caladiums 4-6 inches apart and 4-6 inches deep. Smaller tubers may be planted closer together, while larger ones should be spaced further apart.
  • Add a light layer of mulch over planted caladiums to moderate soil temperature, conserve soil moisture, and prevent weeds. Organic mulch will work best and will also continue nourishing these plants.
  • Feed caladiums every 4 to 6 weeks during the growing season. Use a balanced liquid feed poured around the base of the plant or a slow-release fertilizer at time of planting. Adding compost or other amendments to the soil before planting will also assist in nourishment.
  • Water caladium plants well and keep them consistently moist so that they remain beautiful, lush, and healthy during the entire growing season. A drip system or soaker hose will make watering a cinch!

Overwintering Caladiums

Caladiums are “tender” bulbs, meaning that they cannot overwinter in the ground where the soil typically freezes. When the summer ends and temperatures begin to cool, it’s time to dig up and store them for the winter. Once the foliage turns yellow and wilts, the tubers may then be carefully lifted from the ground. They should be placed in a warm, dry location for 10-14 days, during which time the foliage will continue to dry out. The leaves can then be clipped off – use clean, sharp clippers to be sure no fungus or infections are introduced – and place the tubers in a cardboard box or paper bag. Do not use a plastic bag, which will prevent air circulation necessary to keep tubers from rotting during storage and thus rendering them useless for future enjoyment. Cover stored tubers lightly with dry peat moss and store them in a cool (around 50 degrees), dry, dark location, until next spring, when they’ll be healthy and ready to plant again for more incredible foliage.

Caladiums are eye-catching in cool shade gardens. Their bold, colorful leaves and their wide selection of cultivars will add color, brightness, and uniqueness to the shady garden, landscape, front porch, and backyard entertainment space. Consider adding a little drama to your yard this summer.


Buddleia: Our Beloved Butterfly Bush or Not?

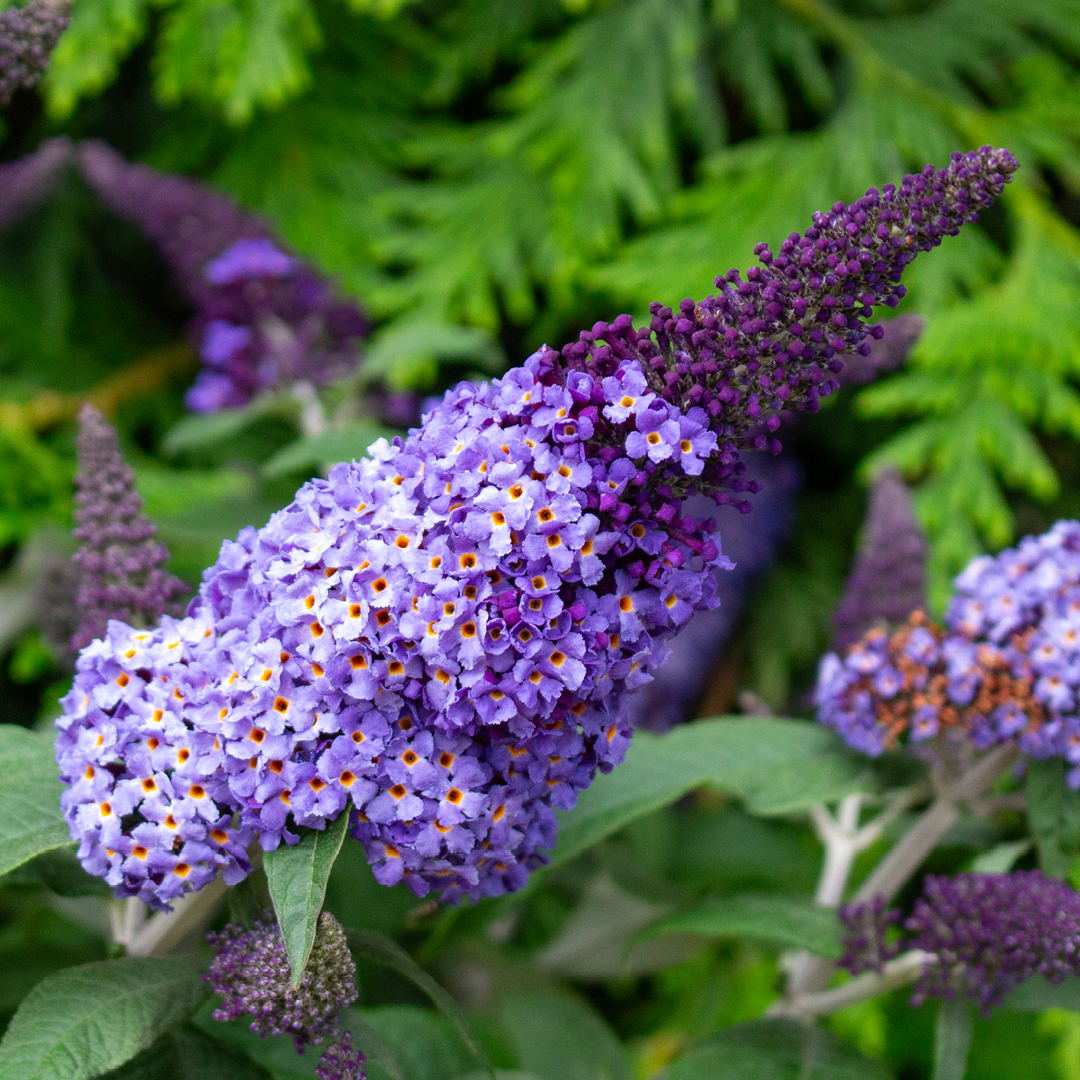
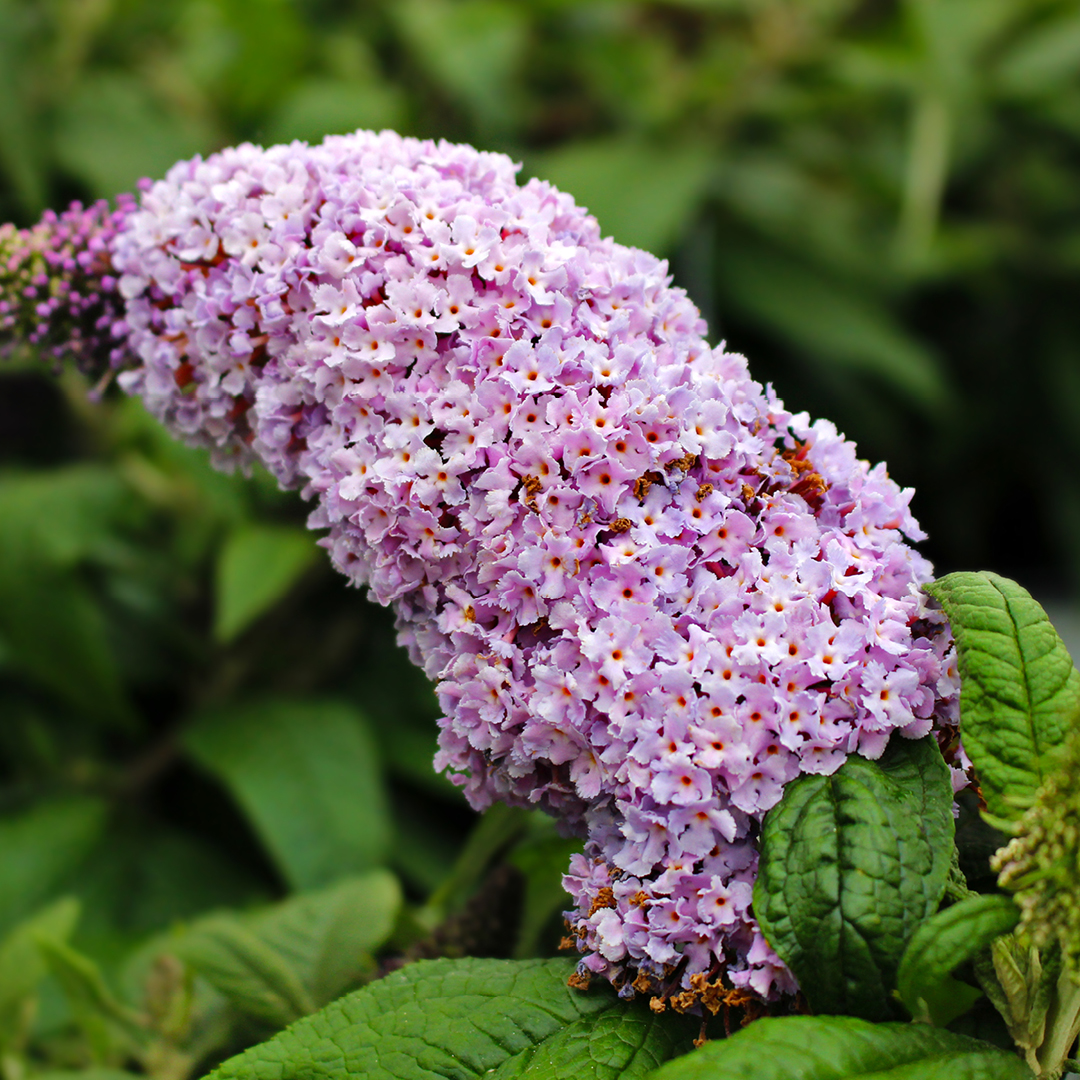
Buddleia, commonly known as the butterfly bush, is a flowering shrub that has won the hearts of many a gardener and pollinator lover for a very long time. Buddleia davidii, the most commonly grown species of butterfly bush, is renowned for its vibrant summer blooms, ease of care, and ability to attract butterflies. While butterfly bush is beloved for these reasons, B. davidii has a dirty little secret: it is invasive! Its ability to self-seed prolifically allows it to spread rapidly, sometimes outcompeting native vegetation. To mitigate this, gardeners are encouraged to plant sterile cultivars that do not produce viable seeds.

The Lo & Behold® and Miss Series of Sterile Butterfly Bushes

Overview of Sterile Series

The Lo & Behold® and Miss Series are notable for offering sterile varieties of Buddleia davidii, addressing concerns about the invasive nature of the species. These two series provide gardeners with beautiful, non-invasive options that maintain the ornamental and pollinator-attracting qualities of traditional butterfly bushes.

Lo & Behold Series
The Lo & Behold series offers a range of dwarf butterfly bushes that are sterile, meaning they don’t produce seeds and thus won’t spread invasively. Despite their sterility, they are still highly attractive to pollinators, especially butterflies and bees, and bloom continuously throughout the summer months.

Varieties:

  1. Lo & Behold ‘Blue Chip’
    • Color:Blue-purple
    • Size:5-2.5 feet tall and wide
  2. Lo & Behold ‘Blue Chip Jr.’
    • Color:Lavender blue
    • Size:5-2 feet tall and wide
  3. Lo & Behold ‘Ice Chip’
    • Color:White
    • Size:1-2 feet tall and wide
  4. Lo & Behold ‘Lilac Chip’
    • Color:Lavender-pink
    • Size:5-2 feet tall and wide
  5. Lo & Behold ‘Pink Micro Chip’
    • Color:Pink
    • Size:1-2 feet tall and wide
  6. Lo & Behold ‘Purple Haze’
    • Color:Deep purple
    • Size:2-3 feet tall and wide

Miss Series

The Miss series also features sterile butterfly bushes in a more standard size. It offers a larger shrub with beautiful blooms that attract a range of pollinators, including butterflies, bees, and even hummingbirds.

Varieties:

  1. Miss Molly
    • Color:Rich magenta
    • Size:4-5 feet tall and wide
  2. Miss Pearl
    • Color:Pure white
    • Size:4-5 feet tall and wide
  3. Miss Ruby
    • Color:Vivid ruby red
    • Size:4-5 feet tall and wide

Attractiveness to Pollinators

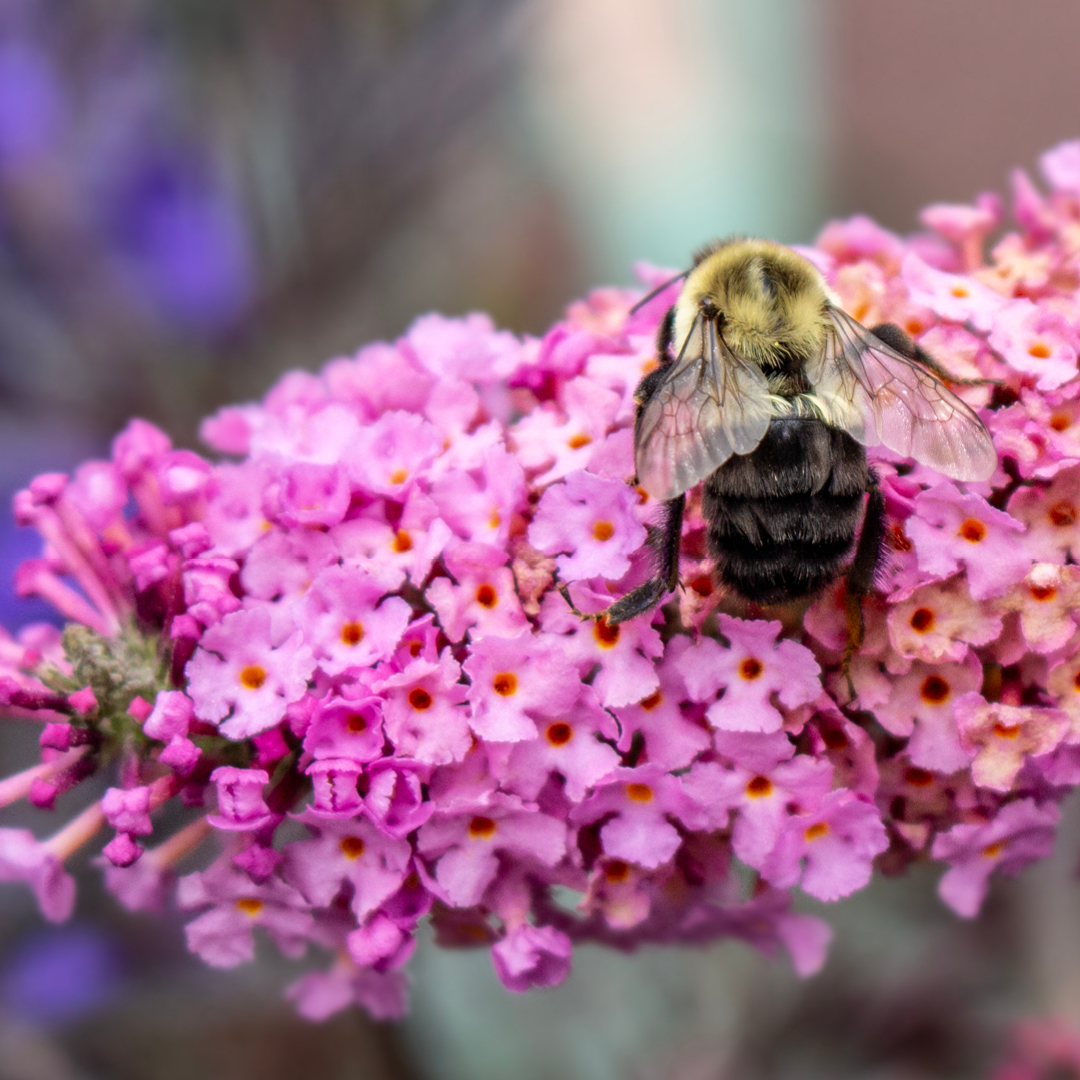
Both series are designed to maintain the key feature that makes Buddleia davidii so popular: their appeal to pollinators. The dense clusters of flowers are particularly attractive to butterflies, which are drawn to the nectar. Bees also frequently visit these plants, making them a great addition to a pollinator-friendly garden. Hummingbirds have been known to visit the larger varieties in the Miss series, especially those with bright, vibrant colors like Miss Molly and Miss Ruby.

YOUR GARDEN CENTER continues to provide you with up-to-date plant information as well as an incredible selection of plants to satisfy the most eco-conscious gardener.


Hybrid Lilies

Hybrid Lilies are a stunning and fragrant addition to the garden that can liven up outdoor spaces with their unique blooms and vibrant colors. These plants thrive in most climates, making them the perfect choice for beginner gardeners or those looking for low-maintenance options. Lilies bloom in the late spring and summer, providing dramatic color and texture to the garden. They also make a beautiful home décor addition when used as cut flowers in arrangements or displayed independently. Growing hybrid lilies is a gratifying activity that gardeners can enjoy at any level of experience!

Types

There are many different types of hybrid lilies to select from. Each has its own unique feature and is available in a variety of colors. The most popular hybrid lily varieties include:

Oriental lilies

Asiatic lilies

Trumpet lilies

Site

The best soil for planting hybrid lilies is a rich and well-drained mixture that can hold moisture without becoming waterlogged. A soil pH of 6.5-7.0 is ideal. Lilies require regular watering throughout the growing season to keep their roots moist but not overly saturated. They should be given about an inch of water weekly. Regarding light requirements, lilies do best in full sun locations with at least 8 hours of direct sunlight per day during their peak bloom time. However, lilies can also tolerate some partial shade as long as they receive at least 4 hours of direct sunlight daily.

Plant

Planting hybrid lilies in your garden or container is as easy as dig, drop, and done! The best time to plant is in early spring when the ground is still cool and moist. Dig a planting hole 8 inches deep and space lilies about 8 inches apart. At this time, add a granular, high-phosphorus fertilizer to the soil to give the plants a good start with a robust root system. Place the lily bulb into the hole, so its pointed end faces up. Backfill the planting hole with soil, gently pressing it down around the bulb, and then water it thoroughly to eliminate air pockets. The ground may be mulched for extra protection from weeds, to moderate soil temperature, and assist with soil moisture retention. Now it’s time to sit back and watch your lilies grow!

Care

Caring for lilies throughout the growing season is essential to ensure that they bloom to their very best. Hybrid lilies should be fertilized with a high phosphorus fertilizer each spring. It is important to follow the instructions on the package regarding the application rate. They should also be groomed as needed to keep the garden looking tidy. This includes removing any spent flowers. Although relatively carefree, lilies may still be affected by certain pests and diseases, so checking plants regularly and treating them accordingly is a good idea.

Cut Flowers

Due to their showy, colorful blooms and long-lasting nature, hybrid lilies are highly sought after in floral arrangements. The flowers are exceptionally large, with some varieties producing blooms over 8 inches in diameter. Hybrid lilies come in a variety of colors, including white, pink, red, purple, yellow, orange, and even black. Many are fragrant – making them a great addition to any bouquet or flower arrangement. Hybrid lilies also last longer than most other cut flowers; their stems are strong enough to hold their blooms for up to two weeks when properly cared for.

With lilies, you can easily bring beauty and joy to your surroundings. Whether in the garden or as part of a creative arrangement, lilies have so much potential for any gardener looking to make their space stunning. By following our tips on planting, growing, and caring for lilies, you will ensure that these beautiful blooms reach their full potential and thrive year after year with colorful blossoms that will transform any living area into a place of serenity and wonder. So, get out there today and plant those lilies!

What Is the Difference Between an Annual, a Perennial, and a Biennial?

All living creatures, including plants and flowers, have expected lifespans. Recognizing the differences between annuals, perennials, and biennials can help you determine the life expectancies of different garden center plants so you can choose the varieties that will work best in your garden, landscape, and containers.

Annuals

Annual plants are fairly straightforward. These plants complete their entire lifespan in just one year or growing season, from first sprouting from seeds and growing foliage, stems, and blooms to creating seeds to continue the next generation. After the plants die, they will not regrow from their initial roots, but must restart from seeds again as completely new plants. Annuals are generally faster growing and have longer bloom seasons, making them colorful showstoppers in the garden and landscape.

Common and popular annuals include…

  • Begonias
  • Cosmos
  • Impatiens
  • Marigolds
  • Petunias
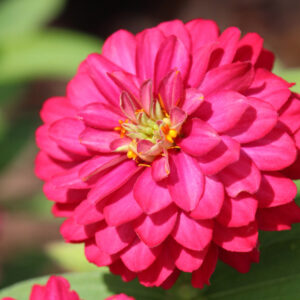
  • Zinnias

In addition to many popular flowers, most garden vegetables are also grown as annuals, though some of them would botanically be classified as perennials if they were allowed to remain in place for multiple years.

Perennials

Perennial plants are those with a lifespan that lasts at least three years, though they can live significantly longer as well. Perennial foliage may die back during the winter months but will regrow from dormant roots the next season. These plants often take longer to mature and may have shorter blossom times than annuals, but they can provide many years of beauty in the landscape.

Familiar perennials include…

  • Coneflowers
  • Coral bells
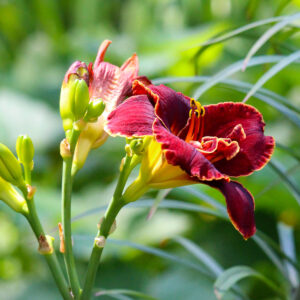
  • Daylilies
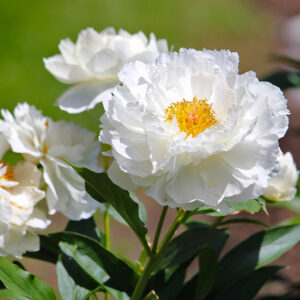
  • Peonies
  • Phlox
  • Sedum

In addition to these elegant and popular flowers, hedges and trees are also perennials. These plants are staples in the yard and provide a foundation for any landscape.

Biennials

Biennials fall between annuals and perennials with a two-year life cycle. During their first year, these plants establish leaves, roots, and stems. Though they may die back slightly over the winter, they will rejuvenate in the spring and grow flowers in their second year, maturing to seeds before the plants die completely.

Familiar biennial flowers include…

  • Canterbury bells
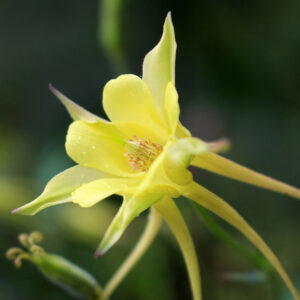
  • Columbine
  • Dame’s rocket
  • Forget-me-nots
  • Foxglove
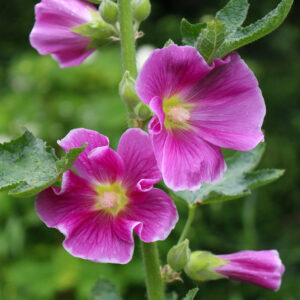
  • Hollyhocks

Because these plants do not bloom in their first year, patience is essential to enjoy their beauty in their second year. Planting biennials in two successive years can ensure the plants enhance the landscape in multiple years.

Choosing Annuals, Perennials, and Biennials for Your Yard

Once you understand plant lifespans, you can more easily choose the plants that will give you a landscape you love. When choosing plants, larger perennials can create a stunning foundation or border for your yard, including showstopping specimen plants and shade trees. Smaller perennials can fill in larger spaces in flowerbeds and edging, while annuals add brilliant color to pathways, edges, and very visible spaces, including porch pots and containers.

Biennials can be spectacular transition plants, particularly if you may plan on expanding your landscaping beds in the future, or want to fill in a space temporarily before adding a new deck, porch, or otherwise expanding your home or outdoor living space. Biennials are also great choices if you want to enjoy a changing landscape without as much work each year, because you can enjoy the plants for two years before they need replacing. Many biennials are self-seeding making them great additions to the cottage garden.

Ultimately, a landscape that includes a thoughtful mix of annuals, perennials, and biennials will showcase different colors, textures, and growth patterns for stunning visual interest. New cultivars are developed every year, and greenhouses often have the latest plants and newest showstoppers on display. If you plan a mixed landscape, you will have the freedom to enjoy new plants as they are introduced and you will always have new plants to be excited about.

Caring for Annuals, Perennials, and Biennials

While the differences between annuals, perennials, and biennials may seem clear, different plants can have different lifespans based on the exact cultivar, gardening zone, climate variations, and even microclimates within an individual landscape. Furthermore, the care plants receive can ensure they reach their maximum potential for the longest, most productive life. YOUR GARDEN CENTER (insert IGC here) experts can provide recommendations and guidance for the best plants based on your preferences and needs and assist you in choosing plants that will thrive in the conditions of your yard, including soil type, sunlight levels, fertilization, moisture levels, and other needs. To provide each type of plant the best care, consider…

  • Annuals – Provide nourishing fertilizer formulated for the type of plant, and weed around them carefully so these fast-growing plants don’t need to compete for moisture and nutrition. Soaker or dripper hoses can also provide great watering as these plants flourish.
  • Perennials – Be sure these plants have adequate space in the landscape to reach their full size. Good quality mulch can help protect the roots each winter so the plants remain healthy for the next spring.
  • Biennials – Take care to provide appropriate fertilizer for these plants in their different life stages, and mulch around those with basal leaves to provide good winter protection during their dormancy.

Adding annuals, perennials, and biennials to your landscape will not only help you learn about plant lifespans, but you will enjoy a more varied and richly diverse landscape, with plants that provide beauty through the years.