Whether you live in an apartment, condominium or townhome, you don’t need to give up on gardening just because you don’t have a conventional yard. Balcony gardens are ideal for urban gardeners and can yield just as bountiful a harvest as any more spacious, ground-level plot.
What Kind of Garden Can You Have?
To ensure good growth, beautiful color and a vigorous harvest, you first need to assess the type of garden you can have based on the microclimate of your specific balcony. The overall space available on your balcony, including room to move around and tend your plants, can restrict some larger plantings. You should also track how much sunlight your balcony receives throughout the day, taking into account any shadows cast by nearby buildings and how the light changes in different seasons. Temperatures, breezes and general climate can all vary from balcony to balcony, even on the same building. Do not rely on local forecasts or general tips, since balcony gardens can be dramatically different from ground-level landscapes and gardens, even if your building is not overly tall.
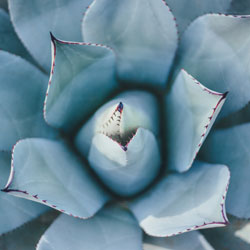
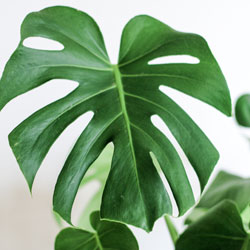
Balcony-Friendly Plants
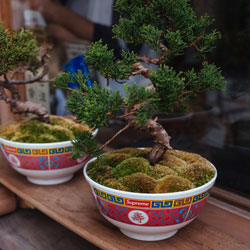
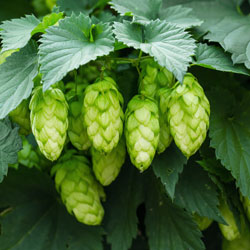
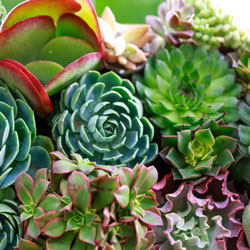
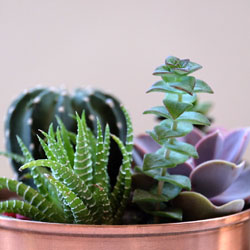
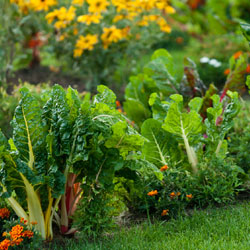
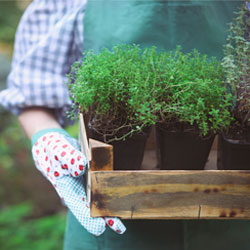
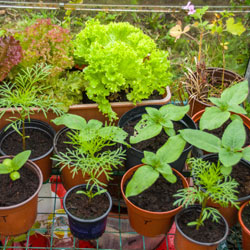
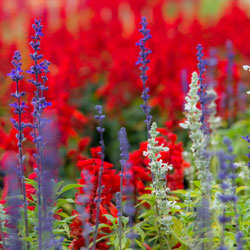
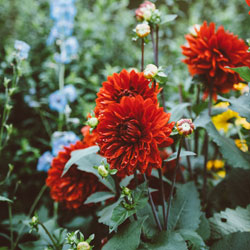
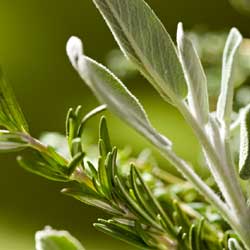
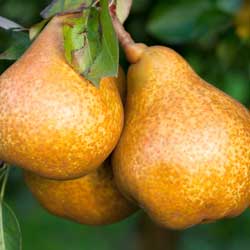
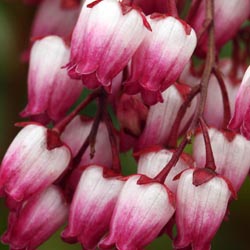
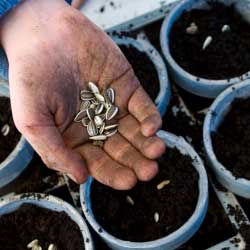
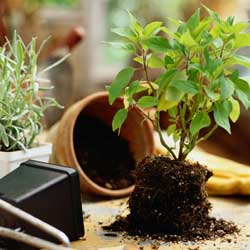
Just about any plant you can grow in a standard garden can also be grown in a balcony garden, so long as the climate conditions are appropriate. Herbs, fruits, vegetables and flowers are all popular, and even dwarf trees can thrive on the right balcony. Choose plant types that are intended for containers or small spaces for the best results, and use high quality potting soil and nutritious compost to nourish your garden.
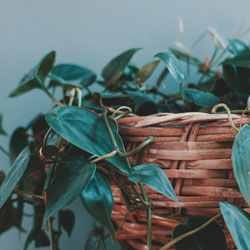
Maximize Your Space
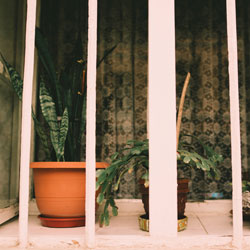
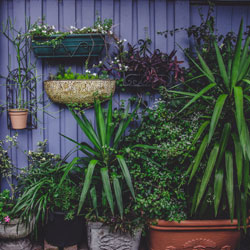
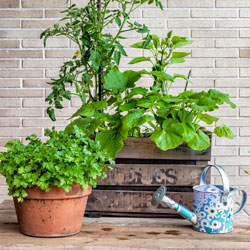
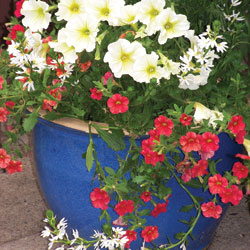
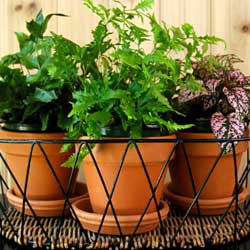
Space is at a premium in any balcony garden, and there are easy ways you can maximize your space for a lush garden. Choose larger containers that can support several plants and group your plants in layers and arrangements that will thrive together so you do not need to crowd your space with too many pots. Think vertically for extra planting space, installing a trellis or green wall to support climbing plants or vines, which will have the added benefit of giving you more privacy from adjacent balconies or close-set buildings. Hanging pots can also add vertical growing space, multiplying the number of plants in your garden. Window boxes designed to rest securely on railings can give you even more planting space, and don’t forget a small pot that can be a centerpiece for a patio table, if you have furniture on your balcony.
Caring for a Balcony Garden
A balcony garden is no more difficult to care for than a traditional garden, but there are tricks to be sure it will thrive. Because you will be planting exclusively in containers, they will need more frequent watering, and they are not likely to get adequate water no matter how much it may rain, since most balconies are covered. Provide plants with proper drainage to minimize the risk of rot, since excess water will not be able to drain away, but take steps to avoid staining the balcony’s floor by using saucers, floor mats or other coverings as needed. Using pot feet or raised stands can also help protect the balcony floor while keeping air circulating around the plants to minimize rot.
Because containerized balcony plants need more frequent watering, they will also need regular fertilizing, as the water gradually washes nutrients out of the limited potting soil. Weekly fertilizing can also help ensure your balcony garden has all the nutrition it needs. Choose fertilizer blends that are specially formulated for your plants for the best results, whether you’re growing herbs, flowers, fruits or vegetables.
Rotating plants regularly can help give them enough sunlight even when corners may be shaded, and it is easy to rotate even the heaviest pots if you place them on rolling stands or casters. This can also help you keep the plants growing evenly and will help you more easily change the arrangements of plants as their needs change or seasonal sunlight patterns shift.
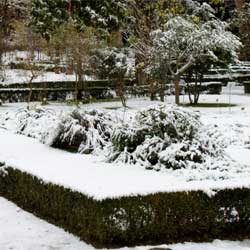
As the seasons change, so will the microclimate of your balcony garden. Change the plants you use each season to keep your garden blooming, or move some plants indoors to prevent excess stress and extend their growing season as much as possible.
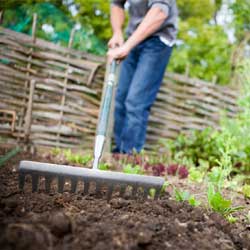
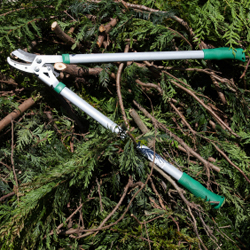
You also need to be sure you have the proper tools to care for your balcony garden. Hand tools are best for gently working with containers and tight spaces. Try different tools to find those that fit most comfortably in your hand and are the easiest to control for precise pruning cuts, easy digging and managing the other tasks you will need to keep your garden at its best.
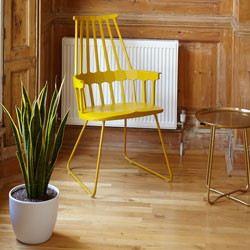
Beautify Your Balcony Garden
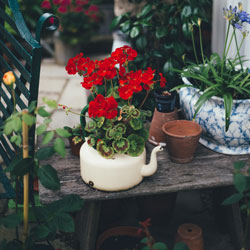
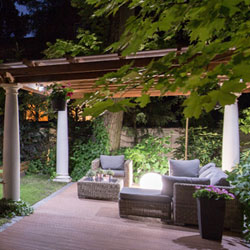
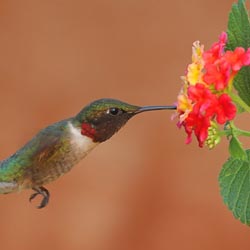
Because your balcony is a key part of your living space, you want your garden to be beautiful as well as functional. Opt for colorful pots, but avoid too many mismatched styles and colors that can be overwhelming. Consider adding a wind chime, small tabletop fountain, gazing ball or sun catchers to the space as well. You might even be able to add a small bird feeder to your balcony, inviting wildlife to share your natural space. Nectar feeders are especially popular, and hummingbirds will be welcome visitors to your balcony garden when they also sip from any flowers you’ve planted.
You will also need to keep your balcony garden tidy. Keep plants pruned and trimmed appropriately, removing dead foliage and spent blooms regularly to encourage more growth. Clean up any soil or water spills right away to prevent stains, and keep your tools, fertilizer and other equipment stored safely.
Remember Your Neighbors
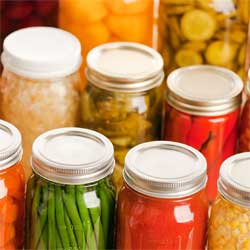
Because balconies are found in tight spaces and you likely share walls or railings with neighbors, keep your garden in its place and avoid intruding on your neighbors’ space with water drips, drooping foliage or falling seeds. Consider sharing your harvest with your neighbors – a bundle of fresh, fragrant herbs, a bouquet of homegrown flowers or even some tasty fruits and vegetables can spread goodwill and encourage even more balcony gardening in your community.
A balcony garden can be a remarkable use of space and a great way to add nature into your life, no matter how high up your outdoor space may be.